
DIY Wedding Suite Template - Monograms
We will continue to work on the DIY wedding invitation suite template. Another design element for the wedding suite will be a monogram including the first letters from the names of the bride and groom. In this Affinity® Designer tutorial, we will create two monograms. You can use either one in your design.
Circles Monogram
This monogram is made from three overlapping circles.
This monogram is made from one square and one diamond shape.
Affinity Designer screenshots used by permission of Serif (Europe) Ltd. This article is not endorsed by Serif Ltd.
Circles Monogram
This monogram is made from three overlapping circles.
- Start a new document that is 2 inches by 2 inches at 300 dpi.
- From the top menubar, click View - Show Grid.
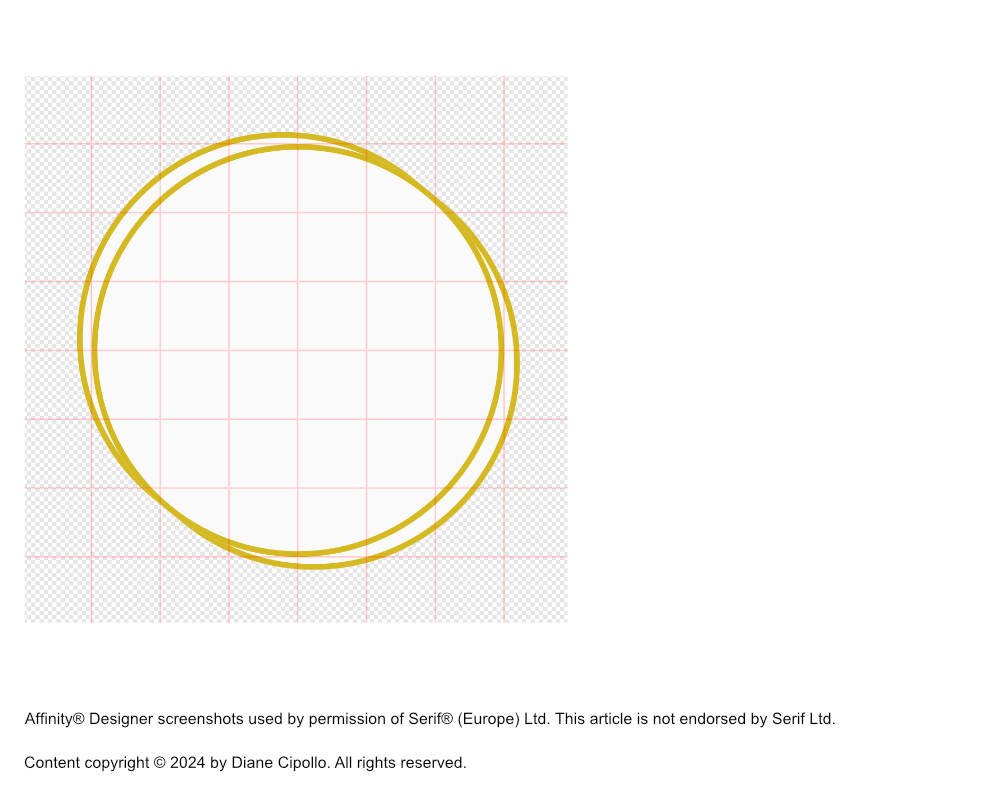
- With the Ellipse tool, draw a 1.5 inch circle. Set the Fill color to #FBFAFB and the Stroke color to #D4B921 in the Context toolbar. Set the Stroke Width to 2 pt and Stroke Alignment to Inside (see screenshot).
- Center the circle on the canvas.
- In the Layers panel, duplicate the circle twice.
- Adjust the size and position of these two circles so that they overlap slightly.
- Add more circles if you wish for your design.
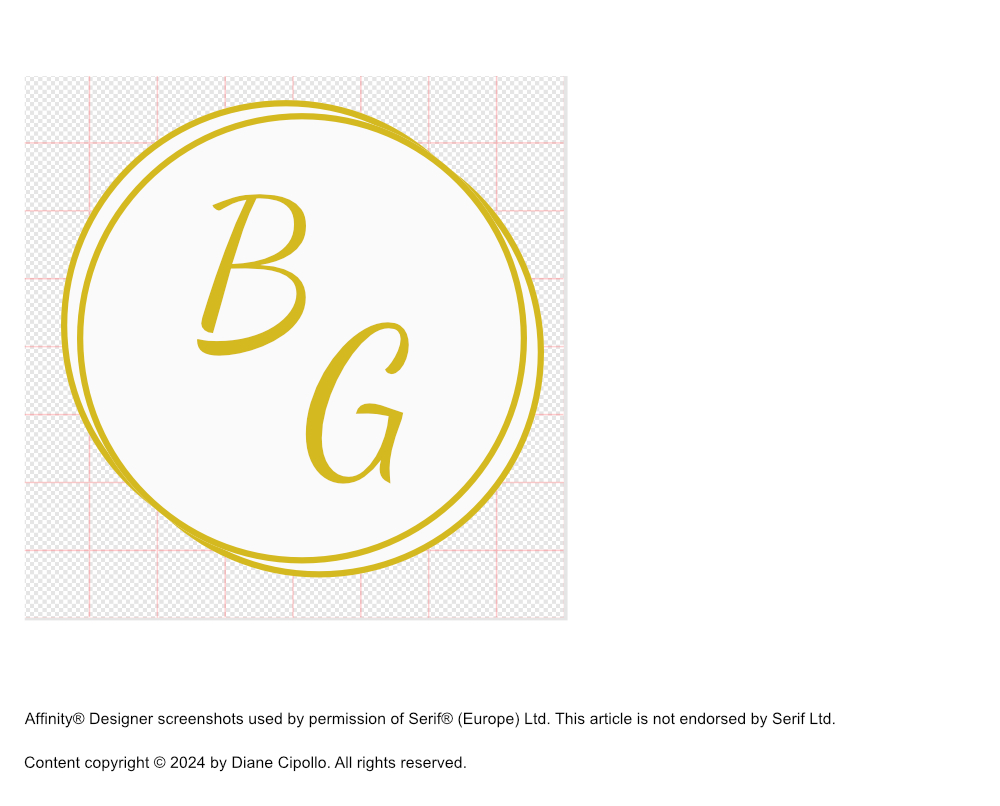
- Add the first letters of the bride's (B) and groom's (G) name (see screenshot).
- Set the text color to #D4B921. In the Context toolbar, set the Text Font to Snell Roundhand (or your choice), the Style to Regular, the Size to 48 pt and Italic to On.
- In the Layers panel, select all of the circles and the letters. Right-click and choose Group. Name the group layer Monogram.
- Click File - Save as and name this document CircleMonogram. Save the .afdesign file in the same location as the patterned background file.
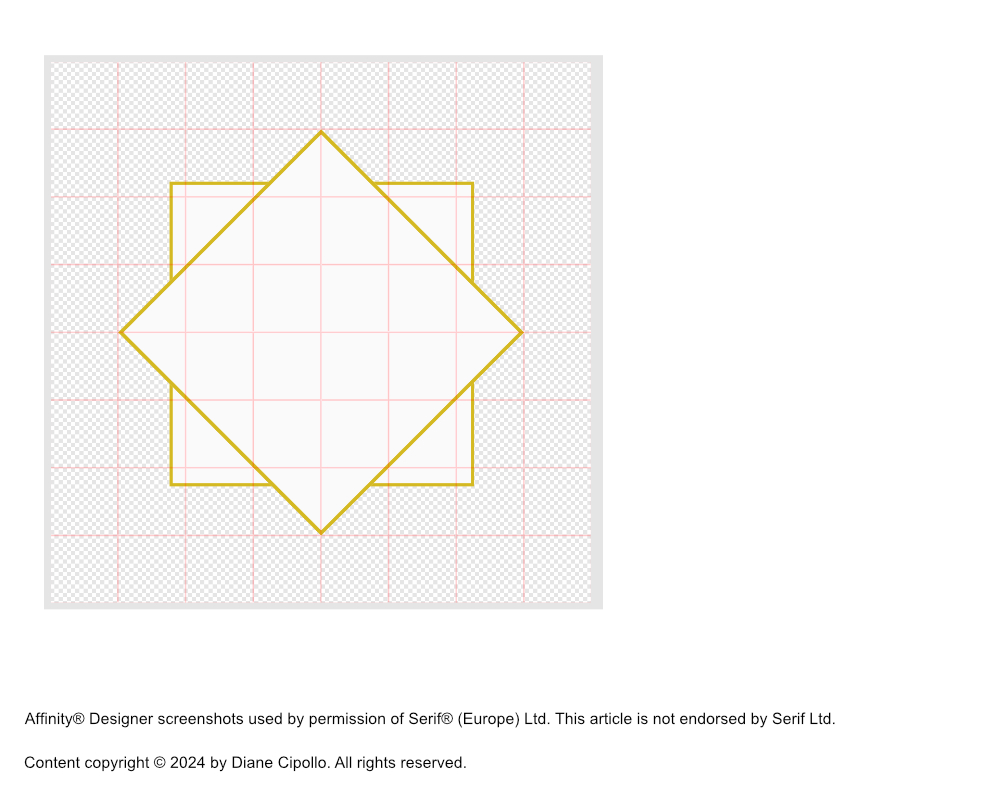
This monogram is made from one square and one diamond shape.
- Start a new document that is 2 inches by 2 inches at 300 dpi.
- From the top menubar, click View - Show Grid.
- With the Rectangle tool, draw a 1.125 inch square in the center of the canvas (see screenshot).
- Set the Fill color to #FBFAFB and the Stroke color to #D4B921 in the Context toolbar. Set the Stroke Width to 1 pt and Stroke Alignment to Inside.
- With the Diamond tool, draw a 1.5 inch diamond over the top of the square (see screenshot).
- Set the Fill and Stork settings the same as for the square.
- Add the first letters of the bride's and groom's name (see screenshot).
- Set the text color to #D4B921. In the Context toolbar, set the Text Font to Snell Roundhand (or your choice), the Style to Regular, the Size to 48 pt and Italic to On.
- Select all layers in the Layers panel and combined them in to a Group. Name the group layer Monogram.
- Click File - Save as and name this document DiamondMonogram. Save the .afdesign file in the same location as the patterned background file.
Affinity Designer screenshots used by permission of Serif (Europe) Ltd. This article is not endorsed by Serif Ltd.

Related Articles
Editor's Picks Articles
Top Ten Articles
Previous Features
Site Map
Content copyright © 2023 by Diane Cipollo. All rights reserved.
This content was written by Diane Cipollo. If you wish to use this content in any manner, you need written permission. Contact Diane Cipollo for details.


